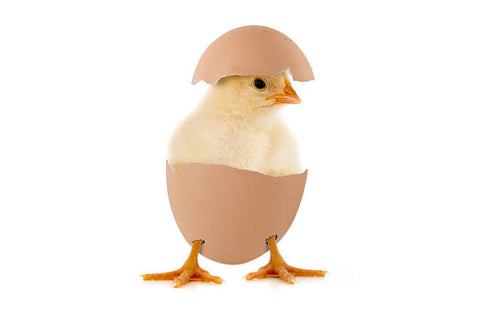
There’s something magical about watching life begin—especially when it’s a fluffy little chick pecking its way out of an egg you’ve been carefully tending. Hatching your own eggs isn’t just exciting, it’s addictive. And with a Brinsea incubator by your side, the whole process becomes easy, reliable, and oh-so rewarding.
Whether you’re dreaming of raising chickens, ducks, or other poultry, here’s your step-by-step guide to making your first hatch a success.
🌟 Step 1: Pick Your Perfect Brinsea Incubator
Not all incubators are created equal, but Brinsea makes choosing simple. They’ve got options for every flock size and budget—from the Mini II Advance for small hatches to the Maxi 24 Advance for beginners who want a little extra space.
✨ Our top pick for first-timers: the Maxi 24 Advance Automatic. It turns the eggs for you, counts down to hatch day, and has clear, simple controls. Basically, it takes the stress out of hatching so you can just enjoy the magic.
Want everything you need in one go? Check out the starter combos—they include the incubator, a chick feeder, drinker, and a cozy Brinsea heat plate for when your chicks arrive. Think of it as a “hatch in a box” kit. 🐥
Read our blog on choosing your Brinsea Incubator with comparison chart here
🥚 Step 2: Gather Fertile Eggs
No eggs = no chicks! Make sure you’re starting with fertile eggs from a trusted breeder or your own healthy flock. Keep them clean, but don’t wash them—the natural “bloom” on the shell protects against bacteria.
⚙️ Step 3: Set Up Your Incubator
Here’s where the science kicks in (but don’t worry, Brinsea keeps it simple):
-
Location: Place your incubator somewhere stable—no drafts, no direct sunlight, no wild temperature swings.
-
Temperature: Keep it steady at 37.5°C (99.5°F).
-
Humidity: Aim for 40–50% during incubation, then bump it up to 65–75% just before hatch day.
-
Turning: If your model doesn’t turn eggs automatically, you’ll need to gently turn them 3 times a day. (Another reason we love the automatic models!)
🔦 Step 4: Candle and Check
Around days 7 and 14, you can do the coolest part of the process: candling. With a Brinsea OvaView or OvaScope, shine a light through the shell and watch the embryo growing inside. It’s like a mini science lab in your hands. ✨
🐣 Step 5: Lockdown & Hatch
At day 18 (for chicken eggs), it’s lockdown time:
-
Stop turning the eggs.
-
Raise humidity.
-
And don’t open the incubator, no matter how tempting it is to peek.
Chicks can take 24 hours or more to fully hatch, so patience is key. Remember, every little “peep” is progress!
💛 Step 6: Post-Hatch Chick Care
Once your chicks are dry and fluffy, it’s time to move them into their brooder. Give them:
-
A steady heat source (like a Brinsea heat plate—safer than a lamp!).
-
Fresh water.
-
Starter feed.
-
A clean, draft-free space.
You’ll be amazed how quickly they go from sleepy fluffballs to curious little explorers.
See our Chick brooder combos for everything you need for baby chicks to thrive.
🏆 Final Thoughts
Hatching your own eggs is one of the most rewarding parts of chicken keeping. It takes a bit of care, a dash of patience, and the right incubator—but the payoff is worth it. With Brinsea’s easy-to-use incubators, you’ll be set up for success right from your very first hatch.
So, are you ready to start your hatching adventure? Your future flock is just an egg away. 🥚➡️🐥
Shop Brinsea Incubators
Shop Brinsea Incubator Combo Packs
Shop Candling equipment


